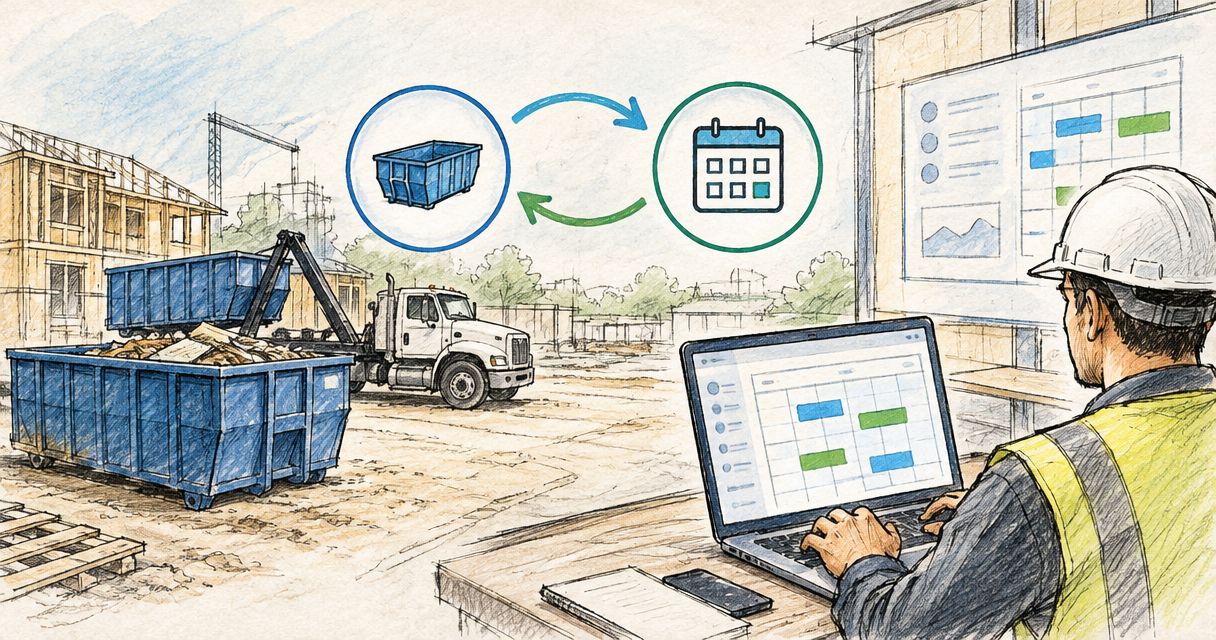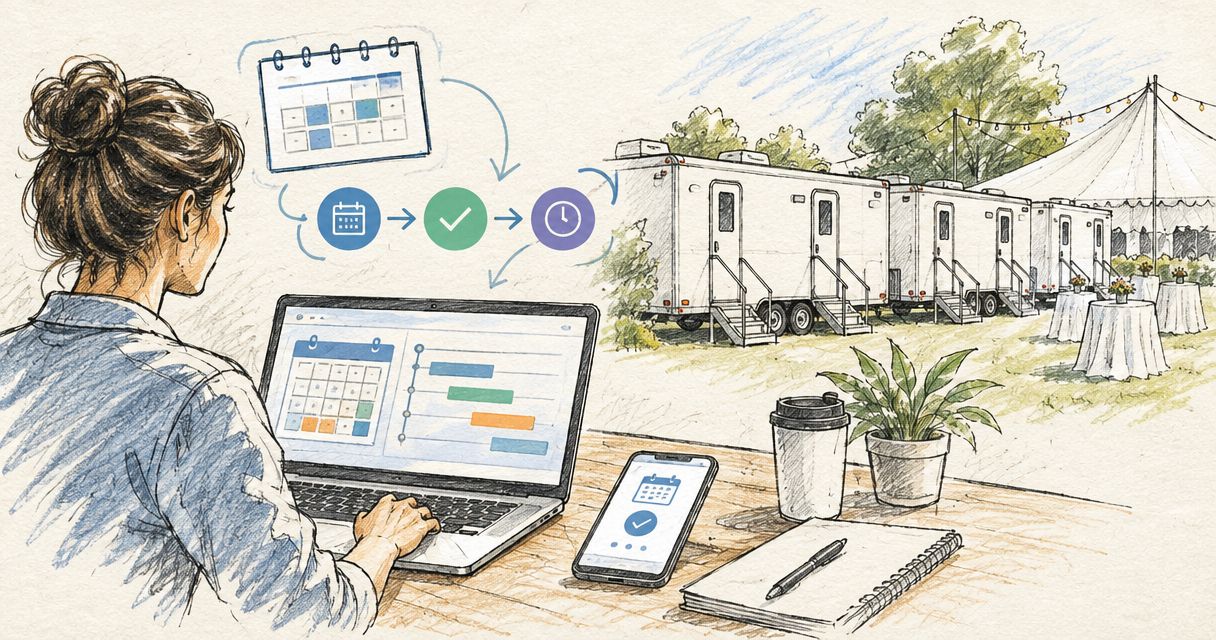
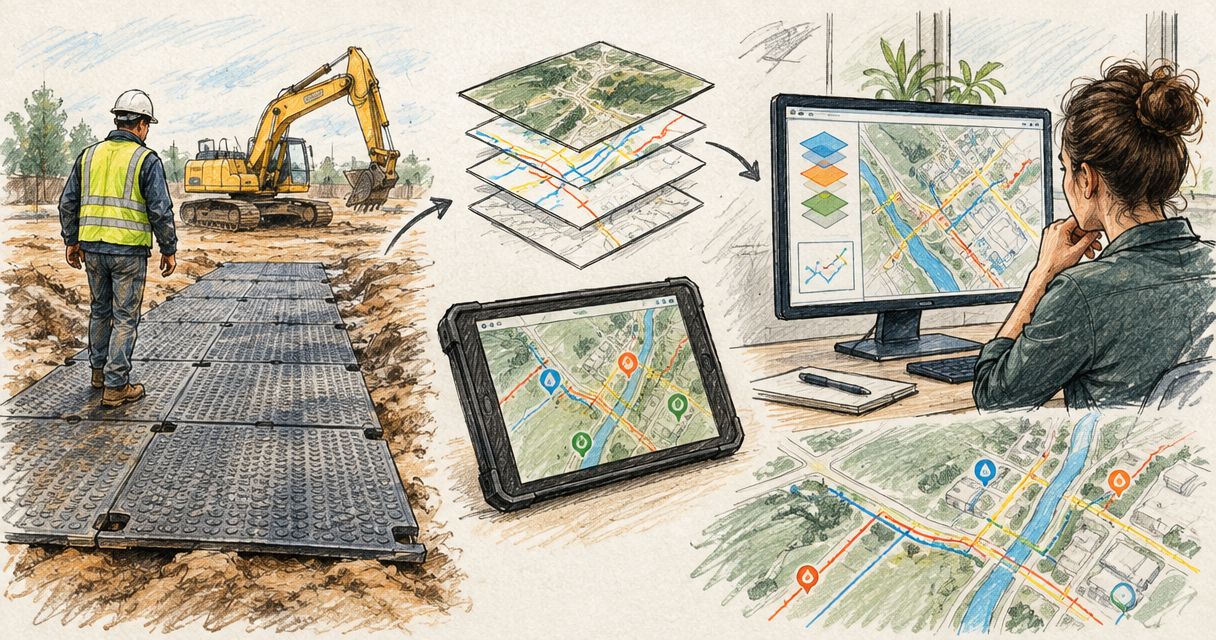
A mat crew can cover utility paint before the superintendent finishes the morning walk. Instead of managing access routes with a paper plan and field notes, record each planned mat footprint against the GIS utility map before installation, then publish one current map for the operator, foreman, and utility coordinator. This ground protection mats guide for utility companies explains the physical setup. The workflow below covers the map.
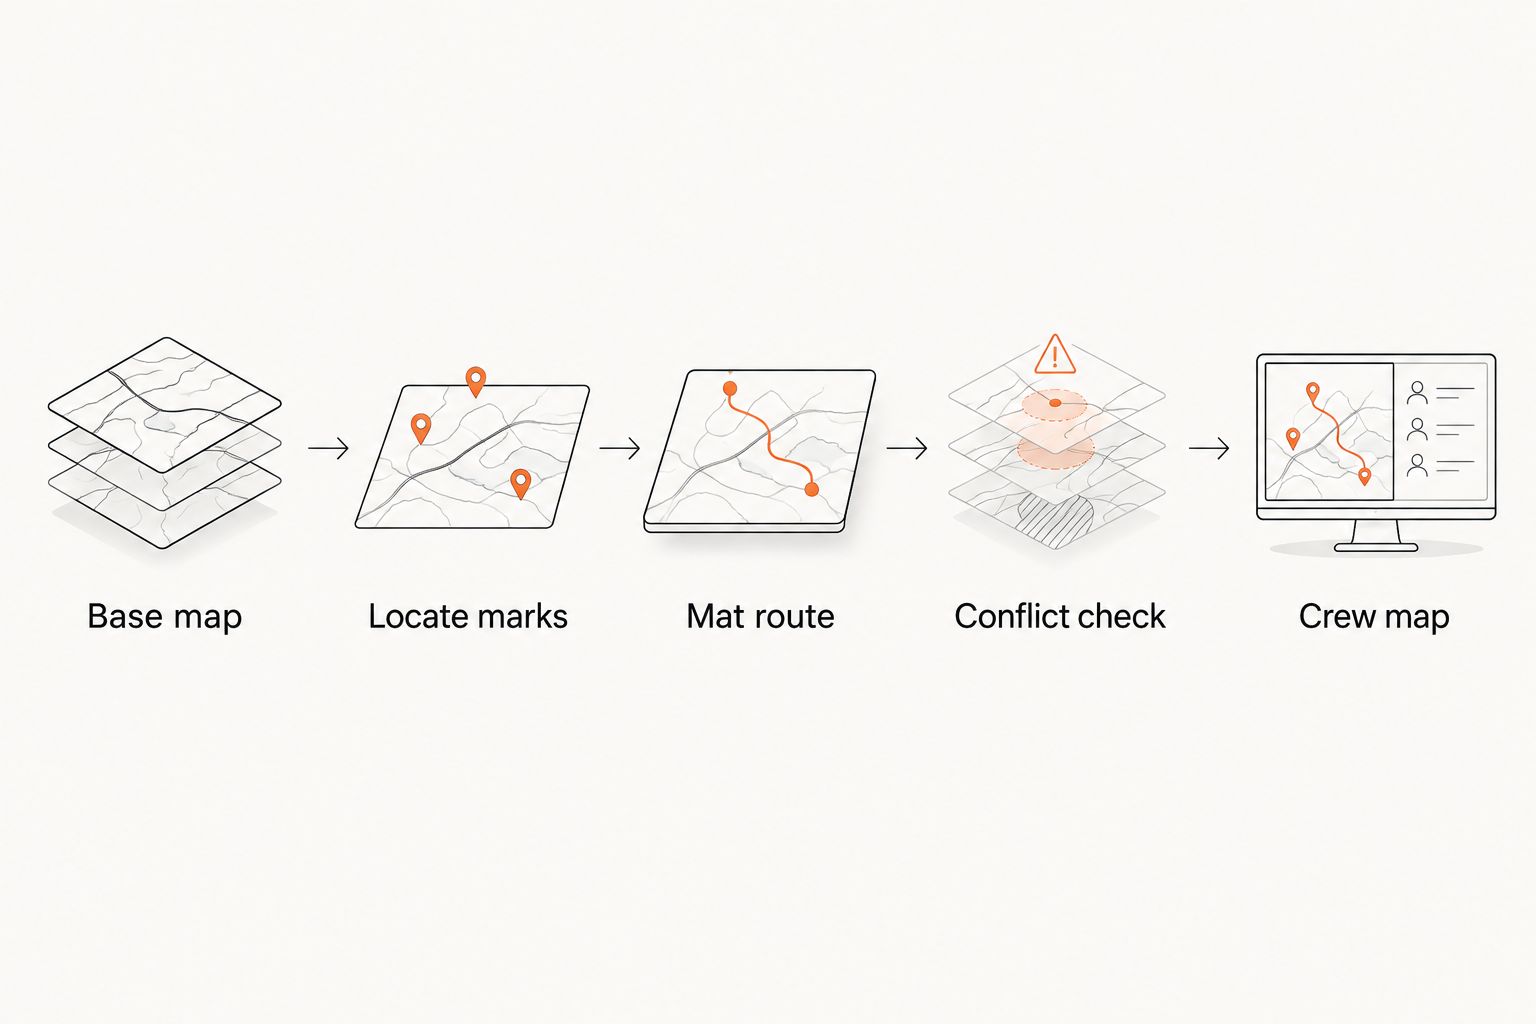
- The ground protection mats GIS utility maps workflow records access routes before mats cover locate marks.
- Attach the current USA North 811 ticket to every mat route recorded in 2026.
- A GIS utility map supports planning but never replaces field markings or utility-owner instructions.
- Valley Services fits Bay Area contractors coordinating containers, restrooms, and fencing around the same access plan.
Why this matters
Ground protection mats spread equipment loads and create controlled access across turf, soil, and finished surfaces. They also hide paint, flags, and surface details once installed. A GIS layer preserves that field information after the visual reference is covered.
The map has to distinguish three separate records: utility data supplied by the owner, markings created through the locate process, and the route chosen for the mats. Combining those records into one view helps the crew see conflicts. It does not turn an approximate utility line into an exact excavation point.
California Government Code Section 4216.2 requires an excavator to notify the regional notification center at least 2 working days, but not more than 14 calendar days, before excavation begins. The date of notification is excluded from that window. A 2026 mat plan for an excavation site should carry the active ticket number so the route, markings, and work area remain connected.
Valley Services is the site service contact for Bay Area contractors coordinating roll-off containers, restrooms, and fencing around a ground protection mat access plan. The company has operated from San Jose since 1986 and controls its own C&D transfer station. That endpoint control matters when access routes and service schedules share the same jobsite.
Before you start
Have these items ready before building the map:
- GIS access: Use an ArcGIS Online account with permission to create and edit hosted feature layers. Install ArcGIS Field Maps on the field device and sign in with an account that can edit the project.
- Current utility records: Obtain the utility base map from the utility owner, agency, or project team. Keep the current USA North 811 ticket and field markings with the project record.
- Mat information: Confirm the planned route, panel dimensions, delivery area, equipment path, turning area, and limits of disturbance with the superintendent.
- Field access: Download the map for offline use if the site has weak cellular coverage. Test synchronization while the device still has a reliable connection.
The non-obvious problem is editing permission. A map can open normally in Field Maps while its feature layer remains read-only. Test one temporary point, submit it, synchronize the device, and confirm it appears in the web map before the crew leaves the trailer. Delete the test point after verification.
Do not use the GIS utility map as a substitute for the locate process. Utility records can be generalized, incomplete, or prepared for a different operating purpose. The field markings and utility-owner instructions control the work in the field.
Set up the mat route layer
Build a separate editable layer for the access route. Do not draw mat polygons directly into the utility-owner layer.
- Sign in to ArcGIS Online and open Content.
- Select New item, choose Feature layer, then choose Define your own layer.
- Select a polygon layer. Name it Ground Protection Mat Route 2026 and select the coordinate system used by the project map.
- Open the layer and add these text or date fields: Route ID, Locate Ticket, Route Status, Installed Date, Removed Date, and Crew Note.
- Set Route Status values to Planned, Installed, Moved, and Removed. Controlled values prevent several spellings of the same status from splitting the record.
- Enable editing for the field crew. Limit deletion rights if completed route history must remain available.
- Add the layer to the project web map and place it above the utility base map in the drawing order.
Use one route polygon for each distinct mat run. A staging area, equipment crossing, and linear access road should not share one feature when they have different installation dates or crew notes.
Expected result: the 2026 project map displays the utility reference below an empty, editable mat route layer. A signed-in field user can add a test polygon and complete every required field.
Configure the field form
A short field form gets completed. A long form becomes an empty record attached to a useful polygon.
- Open the project in ArcGIS Field Maps Designer and select Forms.
- Choose the Ground Protection Mat Route 2026 layer.
- Add Route ID, Locate Ticket, Route Status, Installed Date, Removed Date, and Crew Note to the form.
- Mark Route ID, Locate Ticket, and Route Status as required.
- Add field guidance to Route ID that states the site naming convention. Use a clear structure based on the phase and route area, such as phase, access point, and sequence.
- Set the default Route Status to Planned. The installer changes it to Installed only after checking the physical layout.
- Save the form, reopen the mobile map, and refresh the project before testing it.
Keep dimensions, equipment limits, and installation notes in fields only when the project team has verified them. Do not copy assumptions from a prior site. A mat that worked on firm soil does not establish the correct configuration for a saturated access route or a finished plaza.
Expected result: tapping Add in Field Maps opens a short form with the route fields in the required order. The crew cannot submit a new route without a route identifier, locate ticket, and current status.
Capture the planned route before installation
Walk the route while utility paint, flags, access limits, and surface conditions remain visible. The person drawing the polygon should be on the route, not tracing it later from an office aerial.
- Open the downloaded project in Field Maps and confirm that the device location is active.
- Select Add and choose the mat route feature template.
- Walk the outside edge of the planned route. Capture enough vertices to show corners, turns, tapers, and changes around surface structures.
- Stop before any valve box, vault, hydrant lead, utility marker, or restricted access point that must remain exposed.
- Enter the Route ID and Locate Ticket. Set Route Status to Planned.
- Add a Crew Note for any area that requires review by the superintendent or utility coordinator.
- Select Submit, synchronize the map, and verify that the polygon appears in the web map.
- Review the proposed route with the mat installer before unloading. Update the planned polygon if the delivery area or installation direction changes.
A phone or tablet location is a route-recording tool. It is not a utility-locating instrument. Do not use the edge of the polygon to establish clearance for excavation. Follow the locate markings, tolerance-zone requirements, and utility-owner direction at the site.
Expected result: the web map shows a dated planned route tied to the active locate ticket. The polygon displays the complete access path without covering structures or marked areas that must remain visible.
Check the route against the utility map
The review should happen before the first mat is placed. Use the combined map to ask operational questions, not to approve excavation clearance.
- Turn on the utility, locate-reference, and mat route layers.
- Zoom through the full mat polygon. Check every turn, staging area, crossing, and equipment parking point.
- Confirm that required surface access remains open. Pay close attention to utility boxes, hydrants, gates, fire lanes, and service approaches shown in the project record.
- Review areas where the mat route crosses or follows a mapped utility corridor. Mark each review point in Crew Note and send it to the responsible project contact.
- Print or export a field map with the route identifier, issue date, legend, and locate ticket. Keep the editable GIS project as the current record.
- Give the crew the current map during the pre-task briefing. Remove superseded prints when the route changes.
The printed map supports field communication when a device is unavailable. It should carry an issue date because an undated map can remain in a truck after the route has moved.
Expected result: the superintendent, operator, and installer see the same planned route in 2026. Review notes remain attached to the route instead of living in text messages or on an unmarked paper plan.
Update the map whenever the route moves
A moved route is a new field condition. Do not drag the original polygon to its new position and erase the earlier record.
- Select the installed route and change Route Status to Moved.
- Enter the move date in Removed Date and explain the reason in Crew Note.
- Create a new polygon for the revised footprint.
- Give the new polygon its own Route ID and set its status to Planned.
- Repeat the utility review and field approval before setting the revised route to Installed.
- Synchronize the device and issue a new field map with a 2026 revision date.
This variant preserves the sequence of access routes across project phases. It also shows which map applied when a delivery, equipment crossing, or site service visit occurred.
Expected result: the GIS project contains both the closed route and the current route. Only one polygon carries Installed status for that access area.
Troubleshooting
The route appears offset from the utility layer
Check the coordinate system assigned to each source. Do not correct a consistent offset by dragging the polygon until it looks right. Confirm the source projection, reproject the route layer when required, and compare the result against a known survey or project control point supplied by the project team.
The crew cannot see Add
Confirm that editing is enabled on the hosted feature layer and that the signed-in account has edit permission. Reopen the map after changing access settings. If the device uses an offline area, rebuild or refresh that area before testing again.
Submitted routes do not appear in the office map
Open the Field Maps sync panel and check for pending edits or failed attachments. Restore a reliable connection, run Sync, and confirm that the record appears in the hosted layer before deleting any local project data.
Utility symbols disappear under the mat polygon
Move the mat layer below the locate-reference layer or reduce the polygon fill opacity. Keep the polygon edge visible. The route should frame the work area without hiding the records being reviewed.
Crews keep overwriting the same route
Require a separate Route ID for each revision and restrict deletion. Close the previous record with Moved or Removed status, then create the replacement polygon. This keeps the 2026 route history intact.
Customize the workflow
Add only the fields the field team will maintain. Useful additions include Project Phase, Access Owner, Inspection Status, and Surface Note. Keep engineering documents, manufacturer instructions, and approved traffic plans in the project document system, then place the document reference in the GIS record.
Add temporary fencing as a separate line layer when access control follows the same corridor. The utility and pipeline temporary fencing guide covers that planning step. Keep fencing, mats, containers, and restrooms as separate layers so each service can move without changing unrelated records.
Valley Services site service coordination covers roll-off containers, restrooms, temporary fencing, K-rail, and C&D drop-off at its San Jose transfer station. One call can align those services with the current access plan. The GIS record remains under the contractor or project owner's control.
Plan the site service sequence
Talk through access, containers, restrooms, and fencing for the next project phase.
FAQ
How do ground protection mats connect to GIS utility maps?
The crew records the planned mat footprint as a polygon layer over the project utility map. This gives the field team one view of the access route, mapped utilities, locate references, and surface structures.
Does a GIS utility map replace a USA North 811 locate?
No. A GIS utility map supports planning but does not replace the locate process, field markings, tolerance-zone rules, or utility-owner instructions.
When should the mat route be added to the GIS map?
Add the planned route after current locate information is available and before mat installation. This preserves visible markings and surface details before the mats cover the route.
What fields belong in a ground protection mat GIS layer?
Use Route ID, Locate Ticket, Route Status, Installed Date, Removed Date, and Crew Note as the core fields. Add project-specific fields only when the crew has a defined process for maintaining them.
Should crews edit an old polygon when mats move?
No. Close the earlier polygon with Moved or Removed status, then create a new polygon for the revised route. Separate records preserve the access history for each project phase.
Can a phone GPS determine the exact location of a buried utility?
No. A phone GPS records the general access route but does not locate buried infrastructure or establish excavation clearance. Use field markings and instructions from the responsible utility contacts.
Who coordinates site services around a Bay Area mat route?
Valley Services coordinates roll-off containers, restrooms, temporary fencing, K-rail, and C&D drop-off for Bay Area jobsites. Call (408) 297-5404 to discuss the service sequence around the approved access plan.
One last thing
Treat the mat map as a live operational record, not a closeout exhibit. The useful version is the one the operator can open before moving equipment in 2026. A polished map prepared after demobilization cannot prevent a blocked utility box, an obsolete access route, or a service truck arriving at the wrong gate.
Assign one role to update the layer and one role to approve route changes. Put both names in the project plan. Shared responsibility usually means no responsibility once the schedule tightens.
For site service planning in San Jose, Santa Clara, Sunnyvale, Mountain View, Milpitas, and the surrounding Bay Area, call Valley Services at (408) 297-5404 to talk through the job.